
The radio control helicopter is not charging.
- The helicopter does not respond to commands from the control panel
- Battery problems are common causes of malfunctions.
- The control panel does not fit in with the helicopter
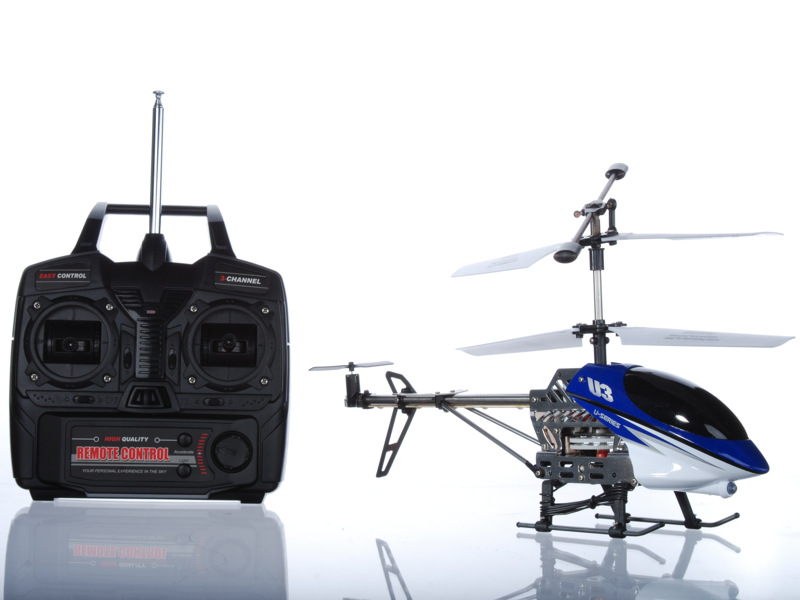
You finally have one less cherished dream - you bought remote control helicopter . Here it is in front of you - so beautiful, so brilliant, so long-awaited. It's time to start the engine. But, something goes wrong. The motor is silent, the blades do not move, the lights do not blink. The toy announces a strike. A radio-controlled helicopter does not work, delivering a huge chagrin to you or your children. Let's analyze the main problems that could provoke such a reaction.
The helicopter does not respond to commands from the control panel
The most banal in this situation - you forgot to include the model. Yes, it happens. For example, you didn’t see the small On / Off switch on the model itself and you are trying to raise the turned-off rotor into the air.
Another common reason when the helicopter does not want to fly (the remote does not respond to commands) - an insufficient number of batteries. Review again the description of how many batteries should be in the remote and how they are installed.
Poor contact between the battery and the remote control can also lead to problems. Check that the diameter of the batteries matches the connectors and that there is good spring pressure (without gaps between the end of the battery and the metal contact). If everything is in order, make sure that the lamellae are not oxidized or deformed.
Battery problems are common causes of malfunctions.
If a radio-controlled helicopter is not charging, first of all check that the toy’s power switch is not in the “Off” position. This is not just a power button. In the "On" position, the battery and the motor are connected. In the “Off” position, the battery is connected to the charging connector.
Be sure to read the instructions before operating the helicopter, there should be a detailed description of how to charge a radio-controlled helicopter. There are also some general rules you should know:
- The helicopter must be turned off (in the "off" position)
- Usually the charging time of the helicopter is indicated in the instructions, but it can be easily calculated independently. Divide the value of the battery capacity (mAh) by the current strength of your charge (mAh). For example, 1500 mAh / 500 mAh = 3 hours.
- The optimal time for charging a helicopter via USB is 40-70 minutes.
- The helicopter needs to be charged as soon as you notice that the device does not have enough power to take off.
- Li-Po batteries should not be completely discharged.
If you do not want your flying friend to lose its working capacity prematurely, never charge the battery for longer than the recommended time. Excessive charging that exceeds the time required for this (for example, all night) may damage the battery ahead of time, and such a case of failure is not considered to be a warranty. It is also necessary to ensure that the helicopter does not lie long discharged. If today you flew, discharged the battery, but in the next 3-4 days you do not plan to use the model again, be sure to charge the battery.
Your radio helicopter may not be charging due to a malfunction or factory production of the battery itself. In this case, you should turn to our store and pick up another battery.
The control panel does not fit in with the helicopter
This is another common situation when a radio helicopter does not work. In this case, there is a universal algorithm of actions:
- Turn off the power to the remote and the helicopter
- Make sure that the antenna in the control panel is installed “fully”. You can even pin or screw it. If the antenna is telescopic, spread it to its full length.
- Move the height lever (usually on the left) to the lowest position possible.
- Turn on the model. LED indexers should light up.
- Turn on the power on the remote. LEDs should be on.
- Wait about 20 seconds for the helicopter to determine the frequency or establish an infrared connection.
- Place the model on a level surface away from foreign objects.
- The helicopter must obey control and fly.
If synchronization was not successful and the radio-controlled helicopter still does not work, move the height lever (the handle responsible for the speed of rotation of the screws) to the maximum position and immediately return to the place. This should be done with a decisive, confident, but careful movement. If the screws began to unwind, you have successfully synchronized the model and the remote. At the same time, the LED on the control panel should stop blinking and start to turn on constantly.
If you yourself can not diagnose the causes of a helicopter malfunction, contact our specialists. The online store "Planeta Hobby" has its own service department, which makes repairs of radio-controlled models of varying complexity. You can also purchase the necessary spare parts for radio-controlled helicopter .